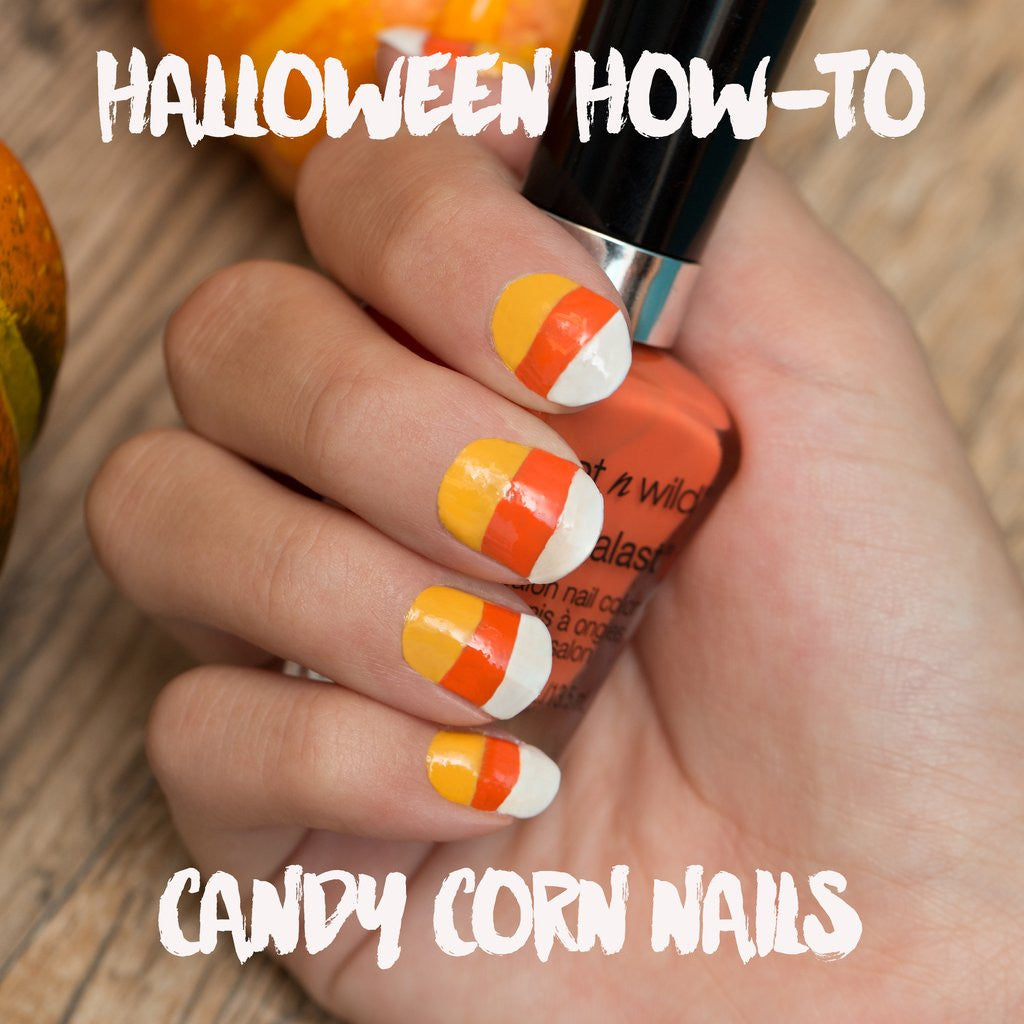
There’s always a certain type of candy that is only popular during their respective holidays. For example, Valentine’s Day has Conversation Hearts, Easter has Peeps and Halloween has Candy Corn. We decided to get into the spirit of Halloween early this year by decorating our nails with the sweet’s signature stripes! Follow these step-by-step photos for simple and festive nail candy, sans the calories or cavities! Afterall, painting your nails shouldn’t be a trick, it should be a treat! And this nail candy looks good enough to eat!
Step 1: Supplies

- Yellow Nail Polish
- Orange Nail Polish
- White Nail Polish
- Top Coat
- *Bonus* File your nails into a point to make them look even more like candy corn!
Step 2: First Coat

Start at the bottom third of your nail, using two coats of the yellow nail polish first. If making a straight line is difficult, use a clear piece of tape to guide you!
Step 3: Second Coat

Wait for the first coat to dry, then proceed with the application of the second in the middle of the nail. Use two coats of the orange nail polish.
Step 4: Third Coat

After the second stripe has dried, finish off with your final two coats of the white nail polish at the tip for the final stripe.
Step 5: Top Coat

Make sure all three colors are completely dry before applying the top coat because you don’t want the colors to bleed into one another. And voila, you’re done! Now if only we could find nail polish that was candy corn scented! We'd love to see you rocking this confection perfection, so tag us in in your photo on social media if you decide to try it out this spooky season!
XOXO


